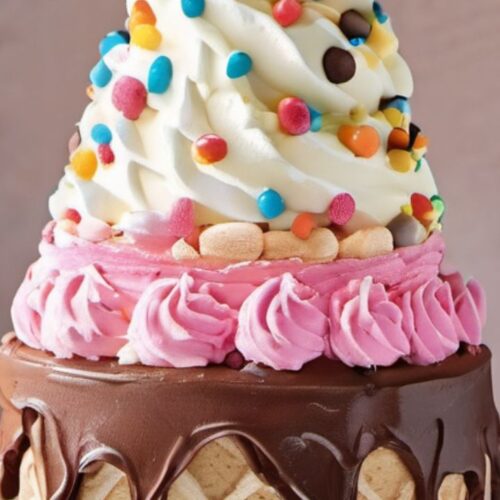
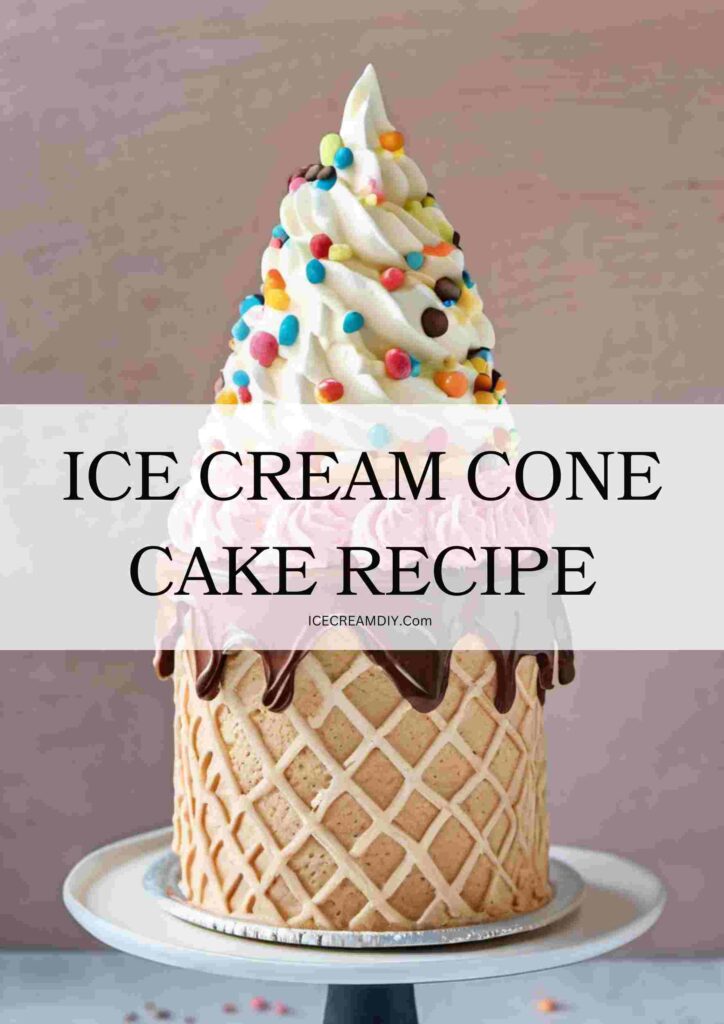
Imagine a delightful fusion of fluffy cake and creamy ice cream, all served in a playful and convenient ice cream cone. That’s the magic of Ice Cream Cone Cake—a whimsical dessert that combines the nostalgia of childhood ice cream cones with the irresistible appeal of freshly baked cake. Each bite is a symphony of textures and flavors, making it a treat that delights both young and old.
Ice Cream Cone Cake has gained immense popularity for being not just delicious but also incredibly fun and creative. Its unique presentation in individual ice cream cones adds a touch of novelty to any gathering or celebration. Whether it’s a birthday party, a summer picnic, or a casual get-together, Ice Cream Cone Cake never fails to bring smiles and spark joy among guests.
In this guide, we’ll delve into the world of Ice Cream Cone Cake, exploring its history, ingredients, step-by-step preparation, serving suggestions, and more. You’ll discover the secrets to making perfect Ice Cream Cone Cakes, along with tips for customizing the recipe to suit various dietary preferences and occasions. Get ready to embark on a delightful journey of baking and indulgence as we uncover the magic of Ice Cream Cone Cake.

Ice Cream Cone Cake Recipe
Ingredients
- 1 1/2 cups All-purpose flour
- 1 1/2 teaspoons Baking powder
- 1/4 teaspoon Salt
- 3/4 cup Granulated sugar
- 1/2 cup Unsalted butter, softened
- 2 Large Eggs
- 1 teaspoon Vanilla extract
- 1/2 cup Milk
- Ice cream (flavor of choice)
Optional toppings or decorations:
- Sprinkles, chocolate chips, chopped nuts, whipped cream, etc.
- Ice cream cones (as many as needed for servings)
Instructions
- Preparing the Batter:In a mixing bowl, combine the all-purpose flour, baking powder, and salt. Mix well and set aside.In another bowl, cream together the softened unsalted butter and granulated sugar until light and fluffy.Add the eggs one at a time, beating well after each addition. Stir in the vanilla extract.Gradually add the dry flour mixture to the wet ingredients, alternating with the milk. Mix until the batter is smooth and well combined.
- Filling Ice Cream Cones:Preheat your oven to the temperature specified in your cake recipe or cake mix instructions.Place the ice cream cones upright in a muffin tin or on a baking sheet lined with parchment paper for stability.Using a spoon or a piping bag, fill each ice cream cone with the prepared cake batter, filling them about 2/3 full. Be careful not to overfill to avoid spillage during baking.
- Baking the Cake-Filled Cones:Carefully transfer the filled ice cream cones to the preheated oven.Bake according to your cake recipe or cake mix instructions, typically around 15-20 minutes or until a toothpick inserted into the center of a cone comes out clean.Remove from the oven and let the cake-filled cones cool completely on a wire rack before decorating.
- Tips for Achieving the Perfect Texture and FlavorUse room temperature ingredients, especially the butter and eggs, for smoother mixing and better incorporation of flavors.Do not overmix the batter once the dry ingredients are added to avoid a dense or tough texture.Check the baking time carefully, as over-baking can result in dry cakes, while under-baking can lead to soggy bottoms.
- Decorating Options and IdeasOnce the Ice Cream Cone Cakes are cooled, you can decorate them with whipped cream, frosting, sprinkles, chocolate chips, or chopped nuts.Add a cherry on top or insert a small cookie as a "lid" for the cone for added fun and presentation.Customize the decorations based on themes or occasions, such as using colored frosting for birthday parties or seasonal sprinkles for holidays.
Notes
- Ice Cream Cones: Choose sturdy ice cream cones that can withstand baking without becoming too soft or collapsing. Waffle cones or sugar cones are good options.
- Cake Batter Consistency: Ensure that the cake batter is of the right consistency—not too thick or too runny. It should be pourable but not watery.
- Filling Level: Fill the ice cream cones with cake batter to about 2/3 full. Overfilling can cause the batter to overflow during baking.
- Baking Temperature and Time: Preheat your oven to the temperature specified in your cake recipe or cake mix instructions. Bake the filled cones at the recommended temperature for the specified time or until a toothpick inserted into the center comes out clean.
- Cooling Time: Allow the Ice Cream Cone Cakes to cool completely on a wire rack before decorating. This helps prevent the ice cream from melting too quickly when served.
- Decorating Tips: Decorate the Ice Cream Cone Cakes just before serving to maintain freshness. Use toppings and decorations that complement the flavors and add visual appeal.
- Storage: If storing leftovers, store unfrosted cakes at room temperature in an airtight container for up to 2-3 days or frosted cakes in the refrigerator for 2-3 days. Frozen cakes can last for 1-2 months in the freezer.
- Reheating: If reheating, do so gently in a preheated oven at a low temperature to avoid overcooking or melting the ice cream.
- Customization: Feel free to customize the recipe by using different cake flavors, ice cream flavors, and toppings according to your taste preferences and dietary needs.
- Enjoyment: Ice Cream Cone Cakes are best enjoyed freshly baked and served as individual treats for a fun and delightful dessert experience.
What is Ice Cream Cone Cake Recipe Made of?
Popular Brands
- Betty Crocker:
- Betty Crocker offers a variety of cake mixes that are perfect for making Ice Cream Cone Cakes. Their classic flavors like vanilla, chocolate, and funfetti are popular choices that provide consistent results.
- Duncan Hines:
- Duncan Hines is another trusted brand known for its wide range of cake mixes. Their products are easy to use and deliver moist, flavorful cakes, making them ideal for Ice Cream Cone Cakes.
- Pillsbury:
- Pillsbury’s cake mixes and frosting products are beloved by many for their rich taste and ease of preparation. Their fun flavors and colorful frosting options add a playful touch to Ice Cream Cone Cakes.
Variations
- Gluten-Free Option:
- Use a gluten-free cake mix or a gluten-free flour blend to make the batter. Brands like King Arthur and Bob’s Red Mill offer high-quality gluten-free baking products. Pair with gluten-free ice cream cones.
- Vegan Option:
- Substitute eggs with flaxseed meal (1 tablespoon flaxseed meal + 3 tablespoons water = 1 egg) or use a commercial egg replacer. Replace dairy milk with plant-based milk like almond, soy, or oat milk. Use vegan butter and a vegan cake mix if preferred. Opt for dairy-free ice cream and vegan cones.
- Low-Sugar or Sugar-Free Option:
- Use a sugar substitute like Stevia or a low-sugar cake mix. Brands like Swerve offer sugar replacements that bake well. Choose low-sugar ice cream options or make your own with natural sweeteners.
- Flavor Variations:
- Experiment with different cake flavors such as:
- Chocolate: Use cocoa powder or a chocolate cake mix.
- Red Velvet: Use a red velvet cake mix and cream cheese frosting.
- Lemon: Add lemon zest and juice to the batter for a refreshing twist.
- Carrot Cake: Incorporate grated carrots, cinnamon, and nuts for a spiced option.
- Experiment with different cake flavors such as:
- Filling Variations:
- Add a surprise filling inside the cake batter before baking:
- Jam or Fruit Compote: Add a spoonful of your favorite jam or compote.
- Chocolate Chips: Mix in chocolate chips or chunks for added texture.
- Nut Butter: Swirl in peanut butter or almond butter for a creamy center.
- Add a surprise filling inside the cake batter before baking:
- Topping Ideas:
- Top with creative decorations to match different themes or occasions:
- Birthday Party: Colorful sprinkles, birthday candles, and edible glitter.
- Holiday Theme: Seasonal decorations like candy canes for Christmas, pastel sprinkles for Easter, or spooky toppings for Halloween.
- Elegant Touch: Drizzle with melted chocolate, caramel sauce, or dust with powdered sugar for a more sophisticated look.
- Top with creative decorations to match different themes or occasions:
These popular brands and variations provide numerous options to customize your Ice Cream Cone Cakes, ensuring they suit any dietary needs, taste preferences, and special occasions.

