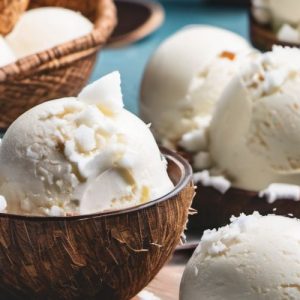
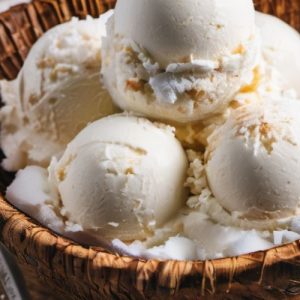
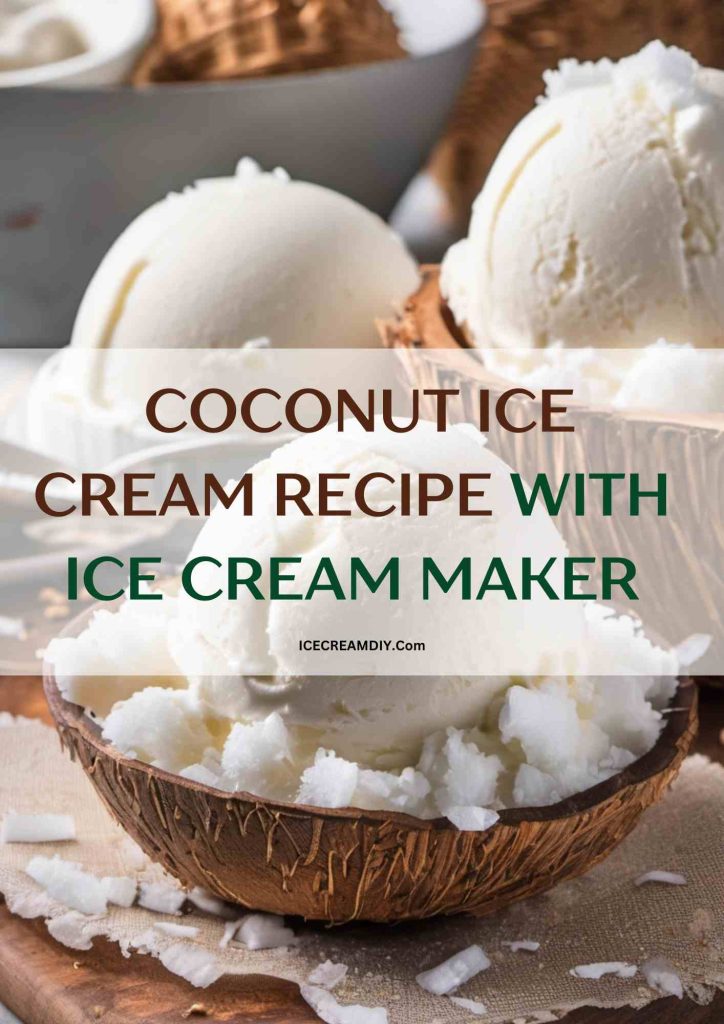
Indulge in the creamy delight of Coconut Ice Cream With Ice Cream Maker. This tropical treat captures the essence of coconut with its luscious texture and refreshing flavor, perfect for cooling off on a warm day or satisfying dessert cravings. Using an ice cream maker ensures a smooth and creamy consistency, allowing you to customize the sweetness, add-ins, and flavorings to create your ultimate coconut ice cream experience.
Dive into a bowl of homemade goodness that rivals your favorite ice cream shop’s offerings with this simple yet delightful recipe.

Coconut Ice Cream Recipe With Ice Cream Maker
Ingredients
- 2 cans full-fat coconut milk, chilled
- 1/2 cup granulated sugar (adjust to taste)
- 1/2 cup shredded coconut (unsweetened)
- 1 teaspoon vanilla extract
- Pinch of salt
Instructions
- Chill the Coconut Milk:Place the cans of full-fat coconut milk in the refrigerator for several hours or overnight. Chilling helps solidify the coconut cream.
- Prepare the Ice Cream Base:Open the chilled cans of coconut milk without shaking. Scoop out the thick coconut cream from the top and transfer it to a mixing bowl.
- Whip the Coconut Cream:Using a hand mixer or stand mixer, whip the coconut cream until it becomes light and fluffy, resembling whipped cream.
- Sweeten and Flavor:Add granulated sugar, vanilla extract, shredded coconut, and a pinch of salt to the whipped coconut cream. Mix until the ingredients are well combined and the mixture is smooth.
- Churn the Ice Cream:Transfer the coconut ice cream base into the pre-frozen bowl of your ice cream maker.Churn the mixture according to the manufacturer’s instructions until it reaches a soft-serve consistency.
- Freeze the Ice Cream:Once churned, transfer the ice cream into a freezer-safe container.Cover the container with a lid or plastic wrap and freeze the ice cream for at least 4-6 hours or until firm.
- Serve and Enjoy:When ready to serve, let the coconut ice cream sit at room temperature for a few minutes to soften slightly.Scoop the creamy coconut ice cream into bowls or cones.Garnish with toasted coconut flakes or fresh fruit for an extra tropical touch.Indulge in the creamy and refreshing flavors of homemade Coconuts Ice Cream made with an ice cream maker!
Notes
Ingredients for Coconut Ice Cream With Ice Cream Maker
Creating Coconut Ice Cream with an ice cream maker is a delightful venture into homemade frozen treats. Here are the key ingredients you’ll need:
- Coconut Milk or Cream: Opt for full-fat coconut milk or coconut cream for a rich and creamy base. Chilling the coconut milk overnight helps separate the cream from the liquid, which is crucial for achieving a smooth texture.
- Sweeteners: Sugar, agave syrup, maple syrup, or other sweeteners are used to sweeten the ice cream. Adjust the amount based on your preference for sweetness.
- Vanilla Extract: Vanilla extract adds depth and enhances the overall flavor of the ice cream. Use pure vanilla extract for the best taste.
- Shredded Coconut (Optional): Adding shredded coconut enhances the coconut flavor and provides texture to the ice cream. It’s optional but recommended for coconut lovers.
- Pinch of Salt: A pinch of salt balances the sweetness and enhances the flavors of the ingredients.
- Optional Add-Ins: Customize your coconut ice cream by adding ingredients like chopped nuts, chocolate chips, fruit puree, or swirls of caramel or chocolate sauce.
By combining these ingredients in the right proportions and following the steps of the ice cream maker’s instructions, you’ll create a creamy, tropical delight that’s perfect for enjoying on its own or as a topping for desserts.

Coconut Milk Ice Cream With Ice Cream Maker
Ingredients
- 2 cups full-fat coconut milk, chilled
- 1/2 cup granulated sugar (adjust to taste)
- 1 teaspoon vanilla extract
- Pinch of salt
Instructions
- Chill the Coconut Milk: Place the cans of coconut milk in the refrigerator for several hours or overnight until well chilled. This helps separate the cream from the liquid.
- Mix the Ingredients: In a mixing bowl, combine the chilled coconut milk (scoop out the thick cream part, leaving the liquid behind), granulated sugar, vanilla extract, and a pinch of salt. Whisk or use an electric mixer to blend until the sugar is dissolved and the mixture is smooth.
- Churn in Ice Cream Maker: Transfer the mixture into the bowl of your ice cream maker. Follow the manufacturer’s instructions for churning, typically around 20-25 minutes or until the ice cream reaches a soft-serve consistency.
- Add Optional Add-Ins: If desired, add shredded coconut, chocolate chips, or chopped nuts during the last few minutes of churning to incorporate them into the ice cream.
- Transfer and Freeze: Once churned, transfer the ice cream to a freezer-safe container with a lid. Smooth out the top, cover tightly, and freeze for at least 4 hours or until firm.
- Serve: When ready to serve, let the ice cream sit at room temperature for a few minutes to soften slightly. Scoop into bowls or cones, and enjoy your homemade Coconut Milk Ice Cream!
Notes
Flavor Variations and Add-Ins for Coconut Ice Cream With Ice Cream Maker
Here are some flavorful variations and add-ins you can incorporate into Coconut Ice Cream made with an ice cream maker:
Flavor Variations:
- Pineapple Coconut: Add crushed pineapple during churning for a tropical twist reminiscent of a piña colada.
- Mango Coconut: Fold in chunks of ripe mango for a burst of fruity sweetness.
- Chocolate Coconut: Mix in cocoa powder or chocolate chunks for a rich and indulgent chocolate-coconut combo.
- Coffee Coconut: Infuse the coconut base with brewed coffee or espresso for a caffeinated kick.
- Strawberry Coconut: Swirl in strawberry puree or chopped fresh strawberries for a refreshing berry flavor.
Add-Ins:
- Toasted Coconut: Sprinkle toasted coconut flakes on top or fold them into the ice cream for added crunch and flavor.
- Nutty Crunch: Add chopped almonds, pecans, or macadamia nuts for a nutty texture.
- Cookie Dough: Mix in chunks of vegan cookie dough for a playful and delicious addition.
- Chocolate Swirl: Drizzle melted vegan chocolate or chocolate sauce into the ice cream during churning for a decadent chocolate swirl.
- Caramel Swirl: Swirl in homemade or store-bought vegan caramel sauce for a sweet and gooey treat.
Feel free to mix and match these flavor variations and add-ins to create your own unique Coconut Ice Cream creations. The versatility of homemade ice cream allows for endless creativity and exploration of flavors that suit your taste preferences. Enjoy experimenting and discovering new delightful combinations!

Tips for Making Coconut Ice Cream With Ice Cream Maker
Here are some tips for making coconut ice cream with an ice cream maker:
- Choose the Right Coconut Milk: Opt for full-fat canned coconut milk for a creamier texture and richer flavor. Avoid using low-fat or light coconut milk as it may result in a less creamy consistency.
- Chill the Ingredients: Make sure to chill the coconut milk and any other ingredients (such as sweeteners, flavorings, etc.) in the refrigerator before using them. Cold ingredients help in achieving a smoother ice cream texture.
- Sweetener Selection: Use a sweetener that complements the coconut flavor well, such as cane sugar, coconut sugar, maple syrup, or agave nectar. Adjust the amount based on your sweetness preference.
- Blend Thoroughly: Blend the chilled coconut milk with the sweetener and any additional flavorings (like vanilla extract, cocoa powder, etc.) until the mixture is smooth and well combined.
- Pre-Chill Ice Cream Maker: If your ice cream maker requires pre-freezing the bowl, ensure it is properly frozen according to the manufacturer’s instructions before starting the churning process. A frozen bowl helps in faster and more efficient ice cream churning.
- Chill the Mixture: After blending the ingredients, chill the mixture in the refrigerator for at least a couple of hours or until thoroughly chilled. This step helps the flavors to meld and improves the texture of the ice cream.
- Churn Correctly: Pour the chilled coconut milk mixture into the pre-chilled ice cream maker and churn according to the manufacturer’s instructions. Avoid over-churning, as it can lead to a grainy texture.
- Add Mix-Ins: Consider adding mix-ins such as shredded coconut, chopped nuts, chocolate chips, or fruit purees during the last few minutes of churning for added flavor and texture.
- Freeze to Set: Once the ice cream has reached a soft-serve consistency in the ice cream maker, transfer it to a freezer-safe container. Cover the container and freeze the ice cream for several hours or overnight until it’s firm and scoopable.
- Serve and Enjoy: When ready to serve, let the ice cream sit at room temperature for a few minutes to soften slightly before scooping. Garnish with additional toppings if desired and enjoy your homemade coconut ice cream!
Following these tips will help you create a delicious and creamy coconut ice cream using an ice cream maker. Adjustments can be made based on your personal preferences and dietary needs.
FAQ
Can I use light coconut milk instead of full-fat coconut milk?
Yes, you can use light coconut milk as a substitute for full-fat coconut milk when making coconut ice cream. However, there are a few factors to consider:
- Texture and Creaminess: Light coconut milk has a lower fat content compared to full-fat coconut milk or coconut cream. As a result, using light coconut milk may result in a slightly less creamy and rich texture in the ice cream.
- Flavor: Full-fat coconut milk and coconut cream contribute a stronger coconut flavor to the ice cream due to their higher fat content. Light coconut milk may have a milder coconut taste, which can impact the overall flavor of the ice cream.
- Adjustments: To compensate for the lower fat content and potential differences in flavor, you may need to make adjustments to the recipe. For example, you can add a bit more sweetener or vanilla extract to enhance the flavor. You can also experiment with adding a small amount of coconut cream or coconut oil to boost the creaminess.
- Chilling: Whether you use light coconut milk or full-fat coconut milk, it’s still important to chill the milk before using it in the ice cream maker. Chilling helps separate the cream from the liquid and contributes to a smoother texture in the final ice cream.
In summary, while light coconut milk can be used as a substitute, be aware that it may result in a slightly different texture and flavor compared to using full-fat coconut milk or coconut cream. Adjustments to the recipe may be necessary to achieve the desired taste and consistency.
Do I need to chill the coconut milk before using it in the ice cream maker?
Yes, it’s highly recommended to chill the coconut milk before using it in the ice cream maker. Chilling the coconut milk helps achieve a smoother and creamier texture in the ice cream. Here’s why chilling is important:
- Separation of Cream: Coconut milk contains both liquid and solid components. Chilling the coconut milk causes the cream to separate from the liquid. The cream is thicker and contributes to the creamy texture of the ice cream.
- Smooth Texture: Chilled coconut milk with separated cream results in a smoother texture when churned in the ice cream maker. This helps prevent ice crystals from forming and ensures a velvety consistency in the finished ice cream.
- Enhanced Flavor: Chilling also allows the flavors to meld together and intensify, enhancing the overall taste of the ice cream.
To chill coconut milk before using it in the ice cream maker:
- Place the can of coconut milk in the refrigerator overnight or for at least 6-8 hours. This extended chilling time allows the cream to fully separate from the liquid.
- Avoid shaking or disturbing the can before opening it. This helps maintain the separation of cream and liquid inside the can.
- When ready to make the ice cream, carefully open the chilled can of coconut milk and scoop out the separated cream into a mixing bowl. Discard or save the remaining liquid for other recipes.
By following these steps and using chilled coconut milk with separated cream, you’ll be able to create a luxurious and creamy coconut ice cream with your ice cream maker.
How long does it take to churn coconut ice cream in an ice cream maker?
The time it takes to churn coconut ice cream in an ice cream maker can vary depending on several factors, including the specific ice cream maker model, the temperature of the mixture, and the desired consistency of the ice cream. However, a typical range for churning coconut ice cream is approximately 20 to 30 minutes.
Here are some general guidelines to consider:
- Pre-Chilling Ingredients: Ensure that the coconut milk mixture (including any sweeteners, flavorings, and add-ins) is thoroughly chilled before pouring it into the ice cream maker. Chilling the mixture helps it freeze faster and results in a smoother texture.
- Ice Cream Maker Capacity: The capacity of your ice cream maker can affect the churning time. If your ice cream maker has a smaller capacity or is overloaded with a large batch of ice cream mixture, it may take longer to churn.
- Manufacturer’s Instructions: Follow the manufacturer’s instructions provided with your ice cream maker. Different models may have varying churning times and recommended settings.
- Check Consistency: Keep an eye on the consistency of the ice cream as it churns. It’s typically ready when it reaches a soft-serve consistency and pulls away from the sides of the ice cream maker.
- Firmer Texture: If you prefer a firmer texture for your ice cream, you can transfer the partially churned ice cream into a freezer-safe container and freeze it for an additional 2 to 4 hours after churning in the ice cream maker.
It’s essential to monitor the churning process and adjust the time as needed based on the desired consistency of your coconut ice cream. Once the ice cream reaches the desired texture, transfer it to a freezer-safe container for further freezing if necessary, or serve it immediately for a soft and creamy treat.
